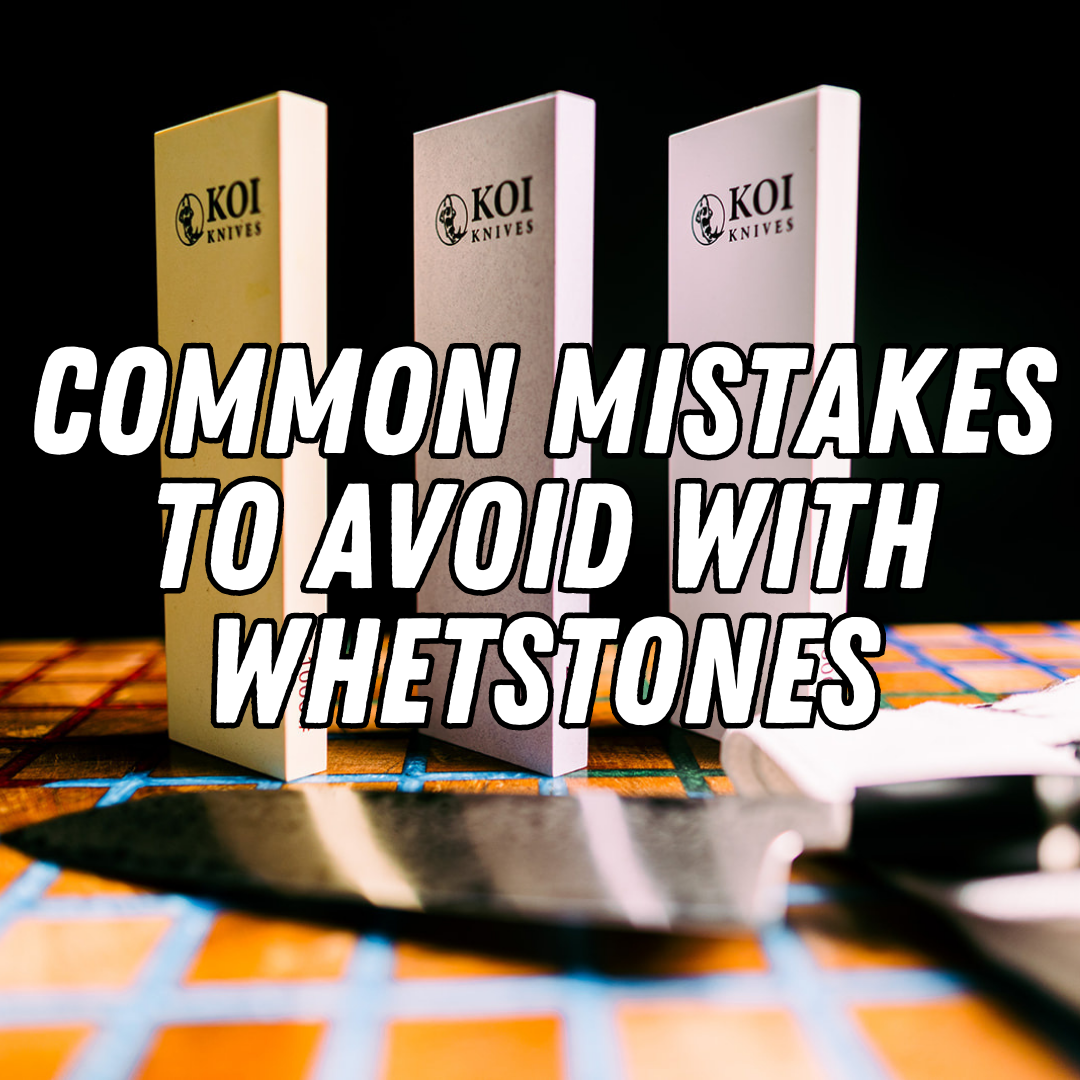
We've all had that experience where your trusty knife just doesn't cut like it used to.
Welcome to this guide on whetstone sharpening, which is intended to help you and your culinary friends. We'll look at the common stumbling blocks that arise during the sharpening process. We'll also go through how to choose the correct whetstone and how to master those elusive angles.
So, whether you're a seasoned pro or new to the sharpening game, let's work together to solve those sharpening mysteries and bring that edge back to life!
The Foundation
Just as a painter needs the right canvas, your knife needs the perfect whetstone to reveal its true potential.
Understanding Grit Levels and Their Uses
Whetstones come in various grit levels, each serving a unique purpose. Coarse grits (lower numbers) are excellent for repairing damaged edges, while finer grits (higher numbers) refine and polish the edge. It's like starting with a rough sketch and gradually adding intricate details.
Selecting the Appropriate Whetstone for Your Knife
Like pairing a fine wine with a delectable dish, your knife deserves a compatible whetstone. Consider the knife's steel type, the level of dullness, and the desired sharpness. A soft Japanese chef's knife may thrive with a finer grit, while a hardy German knife might begin with a coarser grit.
Mastering the art of whetstone selection sets the stage for a successful sharpening journey. Now, let's delve into the common pitfalls to avoid, ensuring your path to sharpening excellence is clear and smooth.
Pitfall 1: Incorrect Angles and Pressure
Precision is required when using a whetstone to sharpen a blade. Not maintaining a constant angle while sharpening is a common error. It's comparable to the difficulty of painting a straight line without a guide. The possibility of a razor-sharp edge vanishes when you change the angle as you progress down the blade.
Find the manufacturer's suggested angle for your knife to get around this. Afterward, make sure you maintain that angle when moving the blade across the whetstone. Although, at first, it might seem awkward, practice makes perfect.
Uneven pressure application is another error. Too much pressure on one side of the blade might result in dents and uneven sharpening. In contrast, being overly light-handed may not produce the desired effects. Remember that mild and continuous pressure, as well as keeping a consistent angle, are key.
Pitfall 2: Insufficient Soaking or Lubrication
Picture this: you're all set to sharpen your beloved knife on a whetstone, but you're missing a crucial step – ensuring the whetstone is adequately soaked or lubricated. Neglecting this step affects the efficiency of sharpening and the life of your whetstone and knife.
Proper Soaking and Lubrication Techniques
Before starting, immerse your whetstone in water for the recommended time. The porous nature of the stone needs time to absorb the water fully. Alternatively, if using an oil stone, apply the appropriate lubricant.
Remember, moderation is key. A well-soaked stone ensures smoother and more efficient sharpening, while proper lubrication prevents excessive friction that could lead to uneven results.
Pitfall 3: Overlooking Progression and Burrs
Now, let's delve into another crucial aspect of whetstone sharpening: the often-underestimated progression and those sneaky burrs. Sharpening your knife is like a journey, and every step counts.
Grit Progression
Think of grit progression as climbing a ladder. You will need more than skipping steps to get you to the top. Start with a coarser grit to reshape and repair the edge, then gradually move to finer grits for that polished finish. Each grit builds on the previous, refining your blade's sharpness.
Burrs – The Silent Culprit
Sharpening creates tiny, feather-like burrs on the edge. Ignoring them is like leaving nails sticking out of a wooden plank. Use a finer grit to remove these burrs, ensuring a sharp edge. Run your finger gently along the blade (carefully!), and you'll feel these minute imperfections.
Pitfall 4: Rushing the Sharpening Process
We're diving deep into the world of whetstone sharpening, and here's a pitfall that even the most eager sharpeners can stumble upon rushing the process.
Picture this: you've got your whetstone ready, your knife in hand, and you're ready to work your magic. But hold on a second! Rushing through the sharpening process is like trying to sprint before you've even learned to walk.
Sharpening a knife with a whetstone is an art that demands patience. Speeding things up is tempting, but here's the scoop: taking your time is the key to success. When you rush, you risk uneven sharpening, inconsistent angles, and potential damage to your beloved blade.
Enjoy the rhythm of the process. Feel the gentle slide of the blade across the stone. Take breaks to check your progress. Remember, honing your skills takes time, but the rewards are razor-sharp edges that will slice through challenges effortlessly.
Pitfall 5: Neglecting Honing and Stropping
Another crucial aspect is honing and stropping. Think of honing as a refreshing break for your knife's edge, allowing it to regain alignment. Stropping, on the other hand, is like the final touch of finesse that brings out the true brilliance of your blade.
Honing for Edge Alignment
Honing involves using a honing rod to realign your knife's microscopically thin edge gently. It's a routine maintenance step that keeps your blade performing optimally between sharpening sessions. Note that a well-honed edge is safer and more efficient in cutting.
Stropping for Polished Perfection
Stropping might seem fancy, but it's surprisingly simple yet effective. A leather strop, often charged with a polishing compound, helps refine the edge further, removing any remaining burrs and enhancing its keenness. This final touch imparts a silky smoothness to your blade, elevating your cutting experience.
Dedicate yourself to the art of honing and stropping, and your knives will repay you with remarkable performance and a lasting lifespan.
Conclusion
In your pursuit of sharpening mastery, you have traversed the nuances of whetstone sharpening and discovered the solutions to the most prevalent pitfalls. As you now know, angles, pressures, soaking, and progression are the building blocks of a sharp edge. Honing and stropping are the concluding strokes on your culinary canvas, so don't overlook their significance.
Embrace perseverance and practice, as honing is integral to your culinary skills. Your knives, as trusted kitchen allies, deserve the utmost care. With each stroke on the whetstone, you hone your connection to the world of culinary delights.


